You know the tiles and understand what you’re trying to build. Now let’s go from opening the Mahjong set to having everyone seated with tiles on their racks, ready to begin.
Lesson 1
What Goes on the Table?
You’ll need a Mahjong set, four racks, access to the current Mahjong card, and dice. Tile pushers, mats, trays, and other accessories can be convenient, but you don’t need an expensive setup to learn or enjoy Mahjong.
Lesson 2
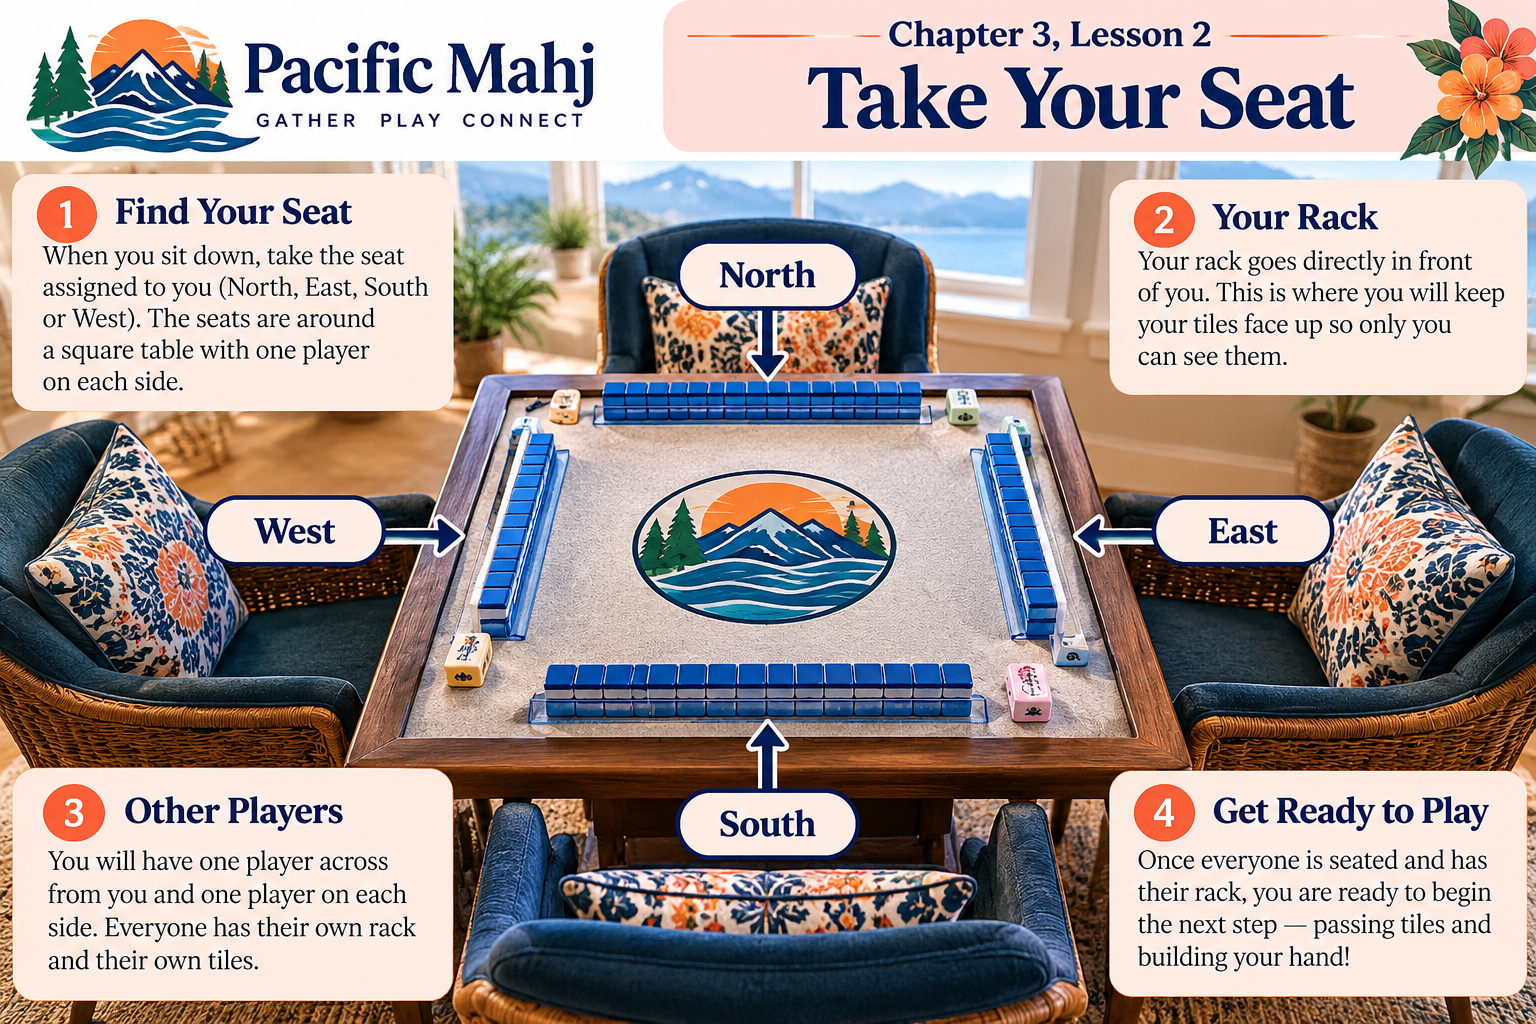
Take Your Seat
Four players sit around the table in positions associated with East, South, West, and North. One player begins as East. East has special responsibilities at the beginning of the game, including starting play.
Four players sit around the Mahjong table in the East, South, West and North positions.
Lesson 3
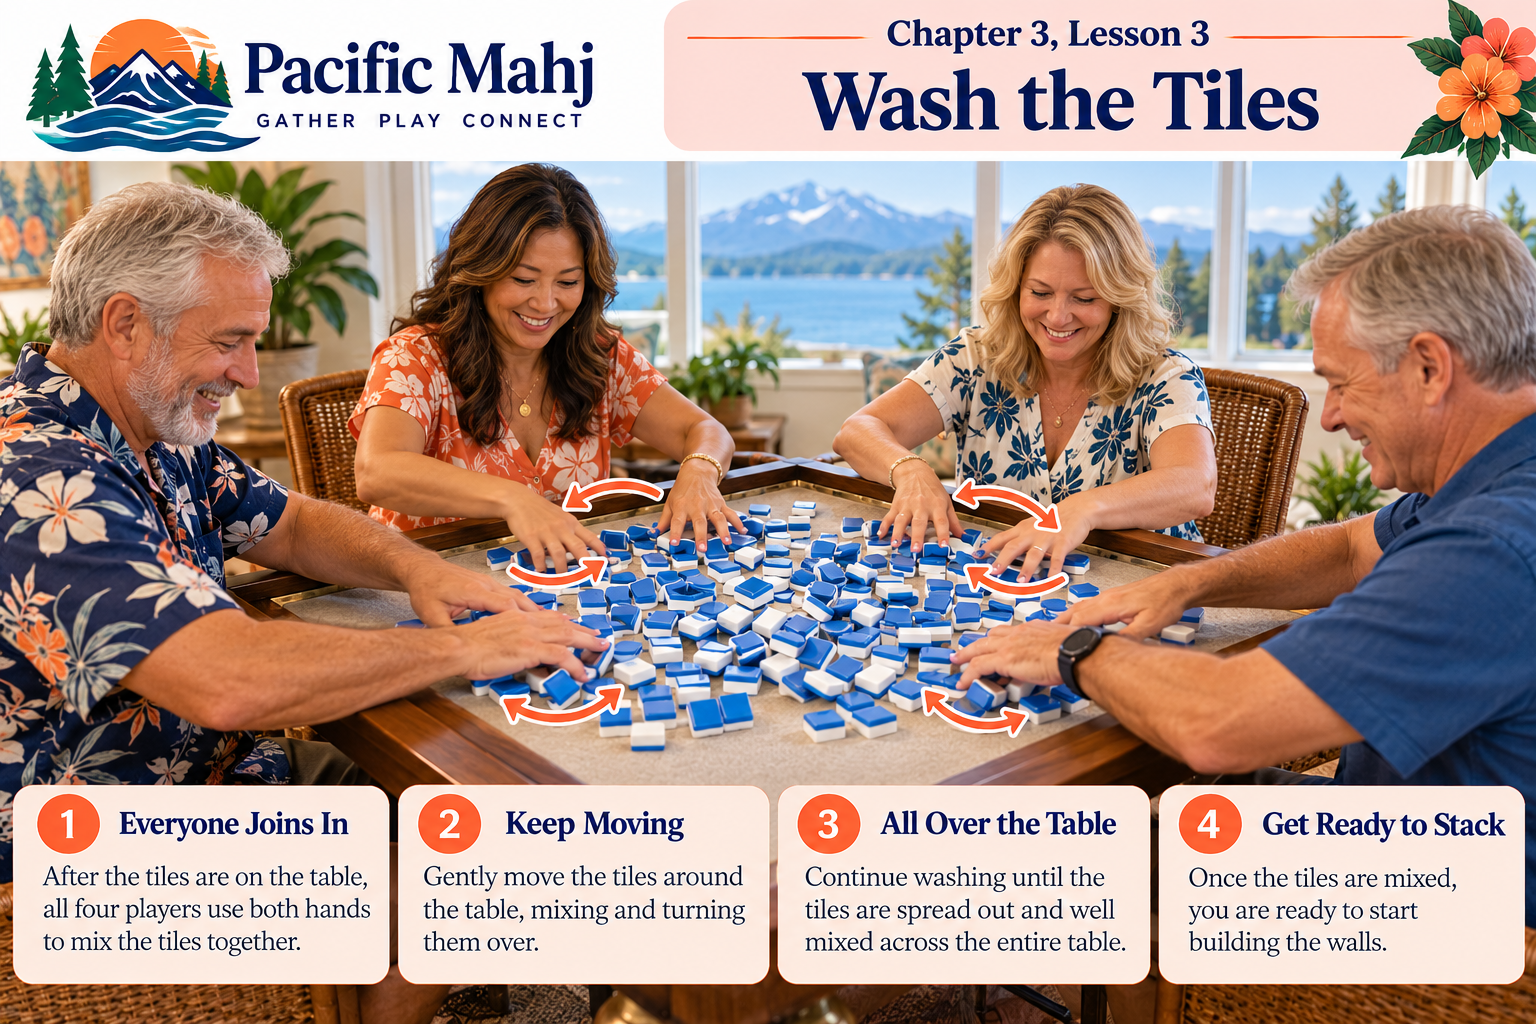
Turn the Tiles Face Down
Place the playing tiles face down in the center of the table and mix them thoroughly. Players often call this washing the tiles—and the sound is one of the unmistakable sounds of Mahjong.
Everyone can help wash the tiles by gently mixing them face down across the table before the walls are built.
Lesson 4
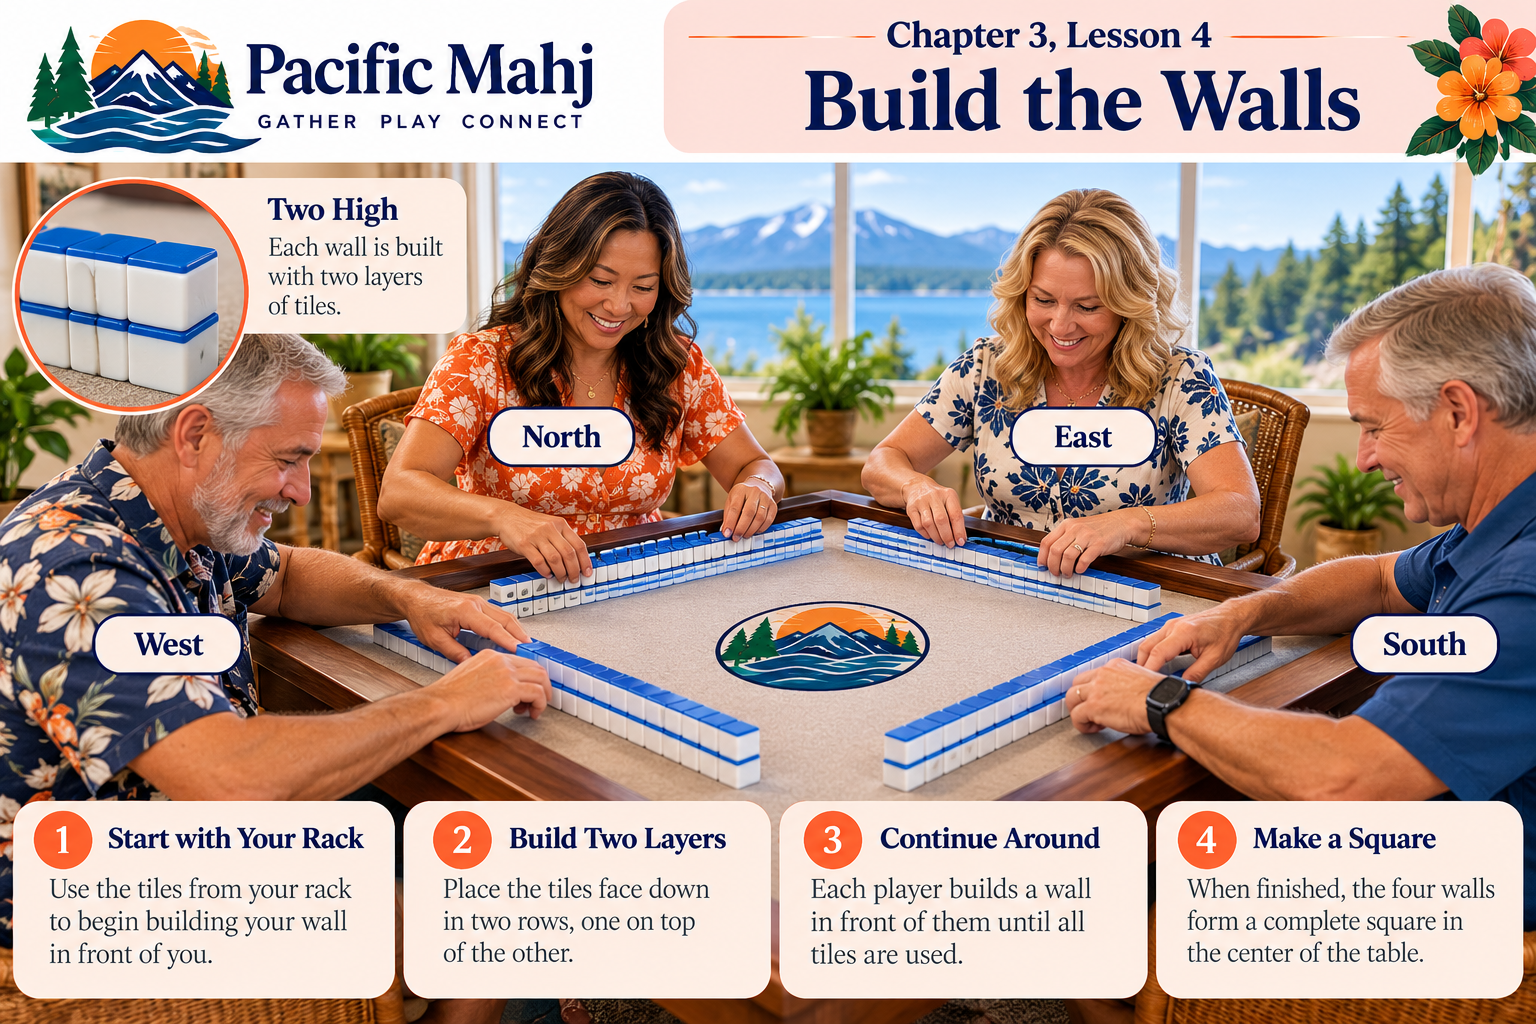
Build the Walls
Each player builds a wall 19 stacks long and 2 tiles high, for 38 tiles per wall. Four walls use all 152 playing tiles and are pushed together to form a square in the center of the table.
Each player builds a two-tile-high wall in front of their rack. Together, the four walls form a square in the center of the table.
Lesson 5
Who Is East?
East is the starting dealer and begins play. Tables may use an agreed method to determine the starting East. As you learn with Pacific Mahj, your host can guide the table through this setup step.
Lesson 6
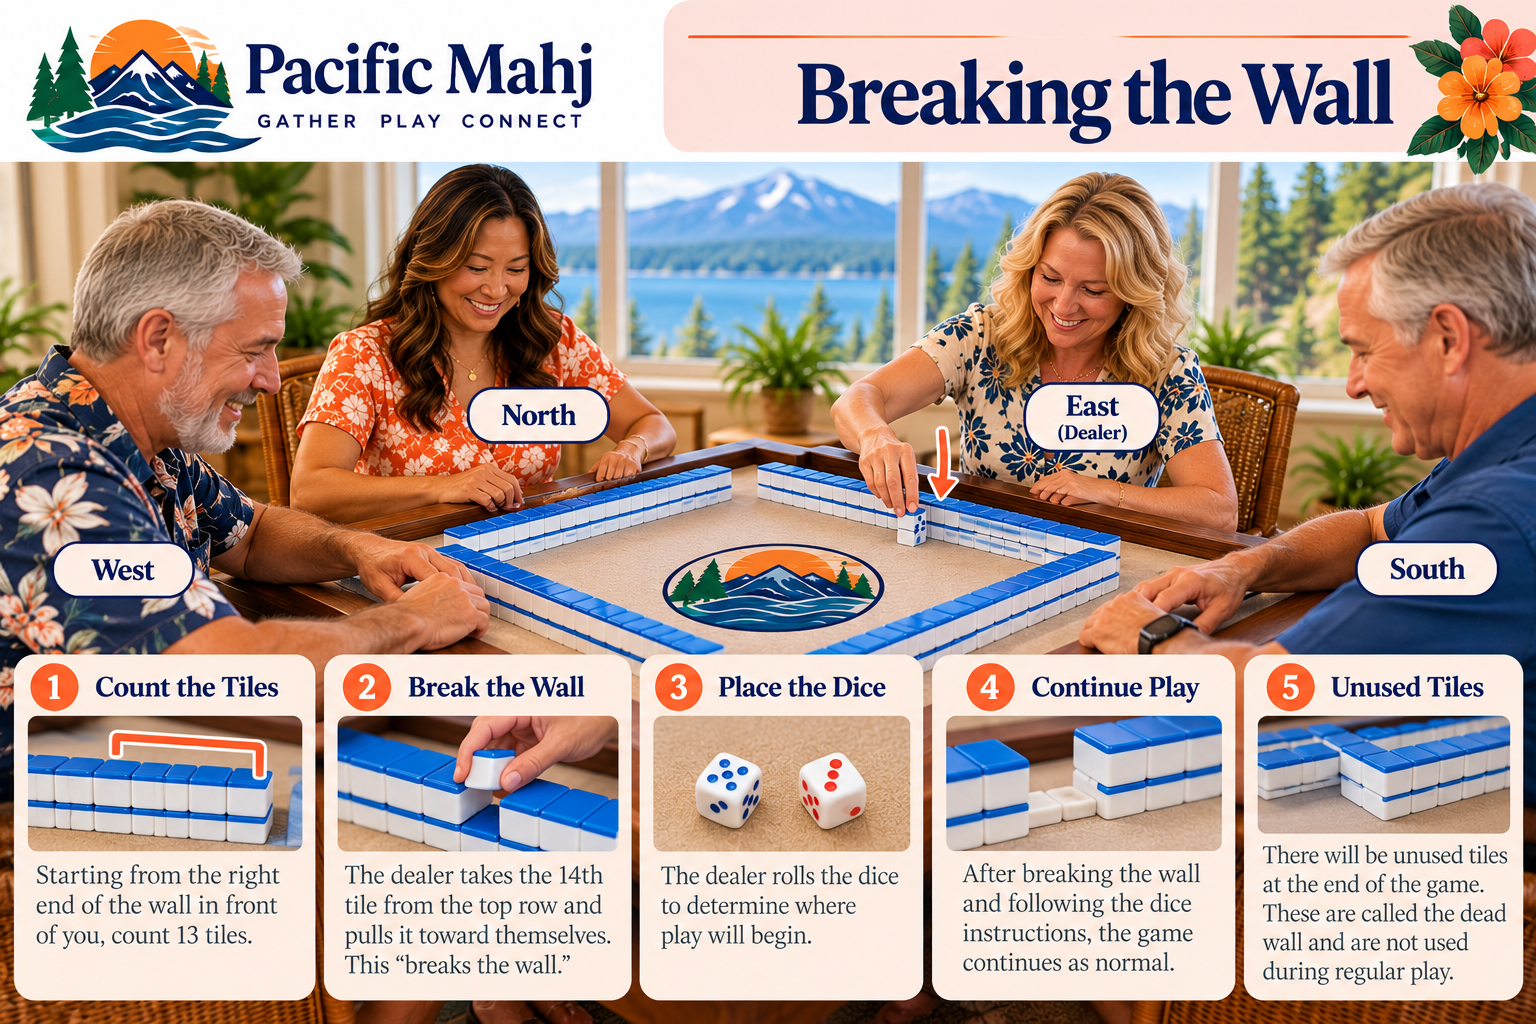
Breaking the Wall
East rolls the dice and the result is used to determine where the wall is broken so dealing can begin. This sounds more complicated in words than it feels at the table—after seeing it once or twice, it becomes familiar.
East uses the dice result to determine where the wall is broken so dealing can begin.
Lesson 7
Dealing the Tiles
Tiles are distributed around the table until East has 14 tiles and the other players have 13. You’ll see the numbers 13 and 14 repeatedly in Mahjong, so this is a useful relationship to remember.
Tiles are dealt around the table until East has 14 tiles and the other players each have 13.
Lesson 8
Put Your Tiles on the Rack
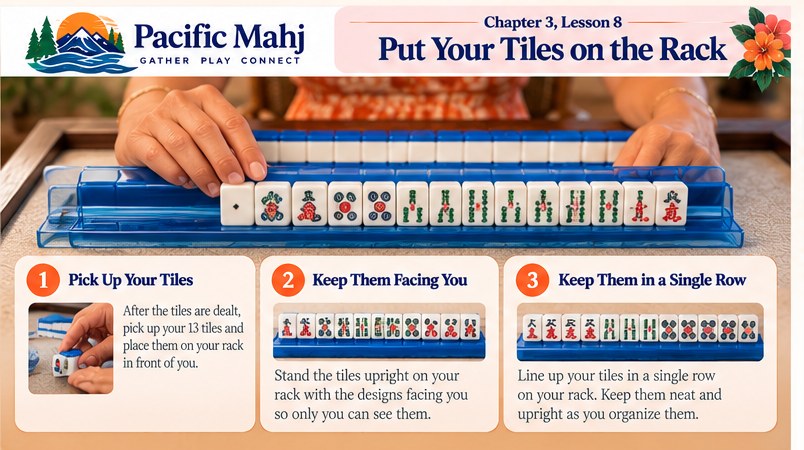
Place your tiles on your rack with their faces toward you so the other players can’t see them. Your rack gives you a private workspace for organizing and evaluating your hand.
Place the dealt tiles upright on your rack with the faces toward you.
Lesson 9
Organizing Your Rack
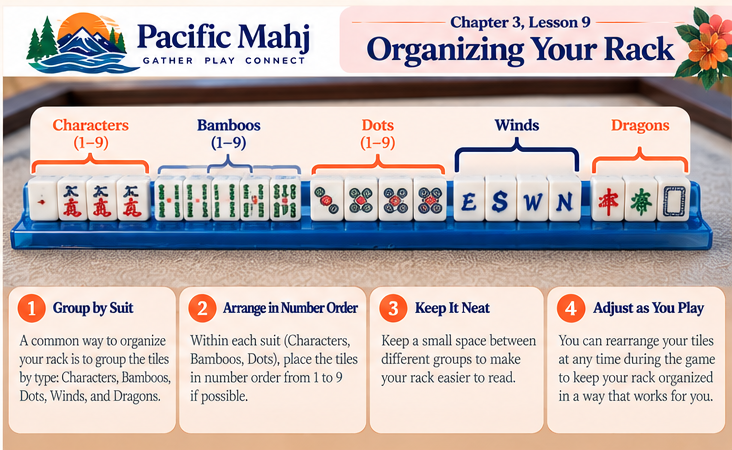
Arrange your tiles in whatever way helps you see possibilities—perhaps by suits, honors, pairs, or patterns. There is no required order. As a beginner, clarity is more important than trying to hide how you organize your tiles.
Organize your rack in a way that makes the tiles and possible patterns easier for you to see.
Lesson 10
Take Your First Look at the Card
With your tiles organized, look at the card for possibilities. Notice suits, even or odd numbers, Flowers, Winds, Dragons, pairs, and consecutive numbers. You aren’t choosing your final hand yet—you’re simply noticing what might work.